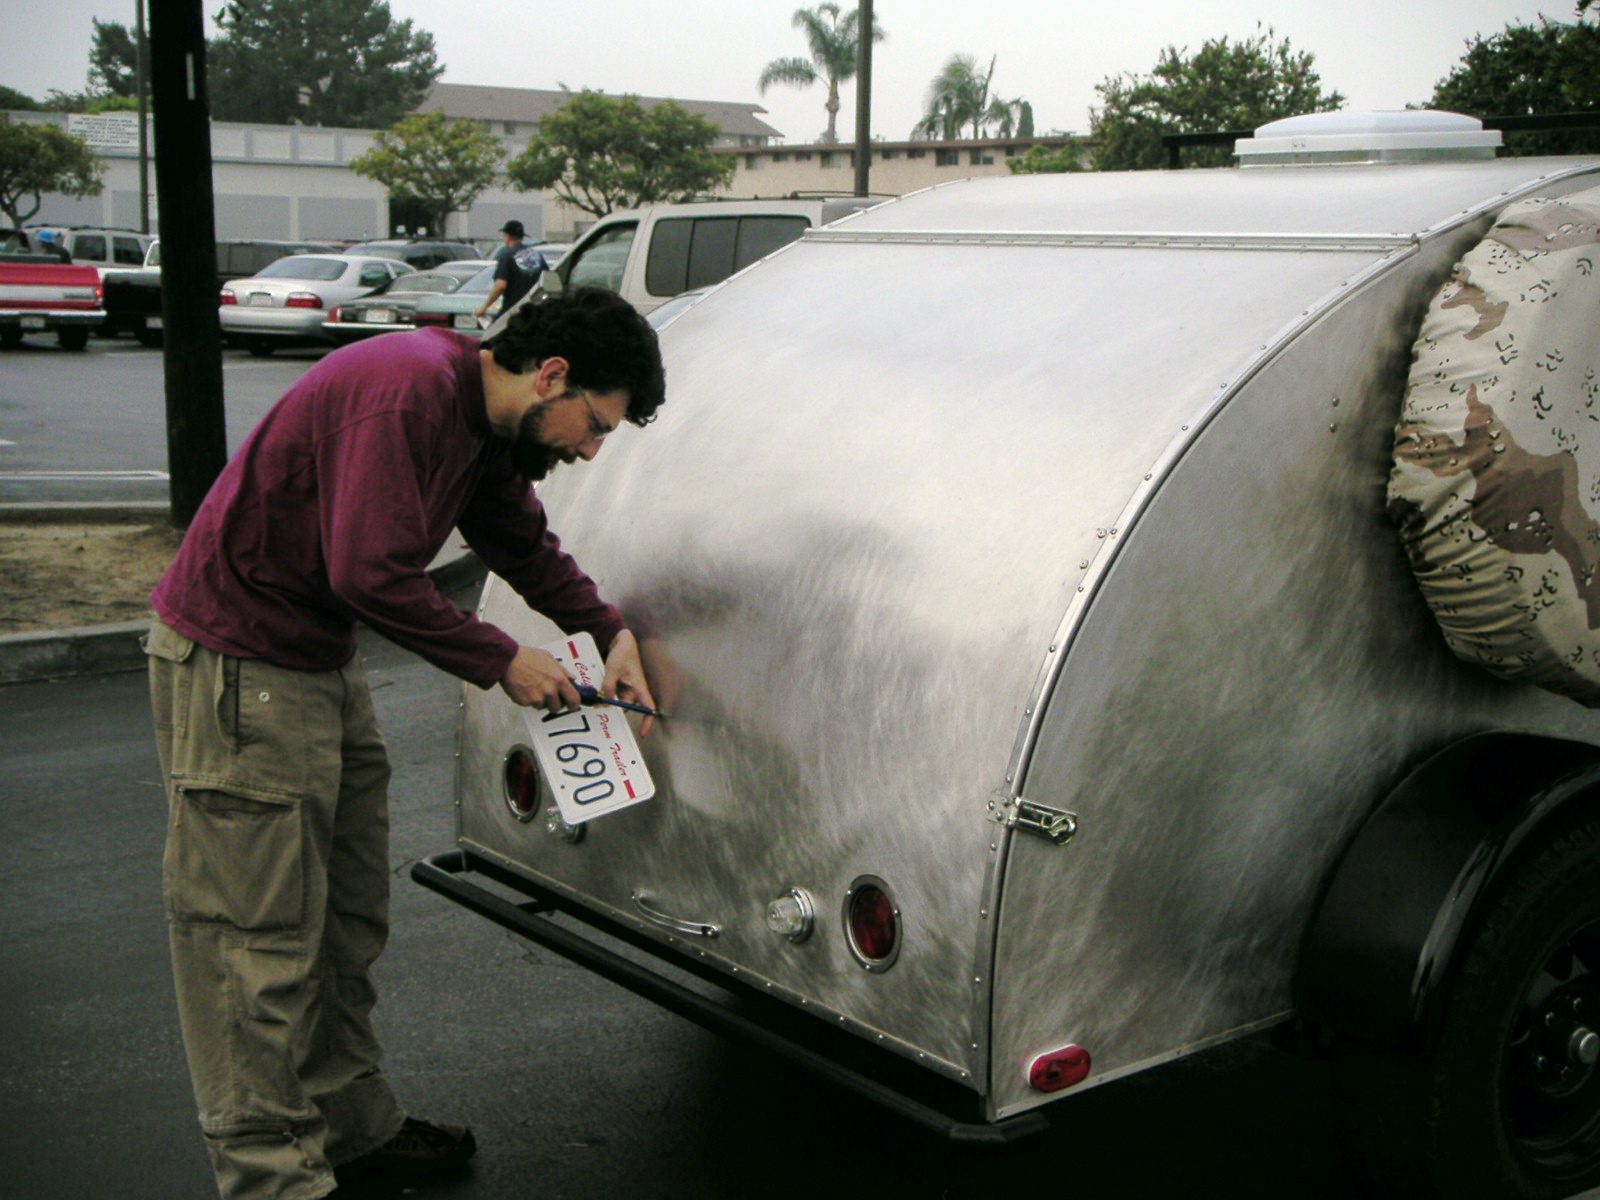
So we have a CA license plate for our home made TearDrop Trailer! Before going to the DMV I did some searches of the Teardrops & Tiny Travel Trailers forum and learned a few things. I also discovered a few more things during the process, and some friends told me some other tips. So I’ll mention them all here so they show up for the next person searching for California DMV registration, PTI license plates, and the procedure. Hope this helps. Photos are below.
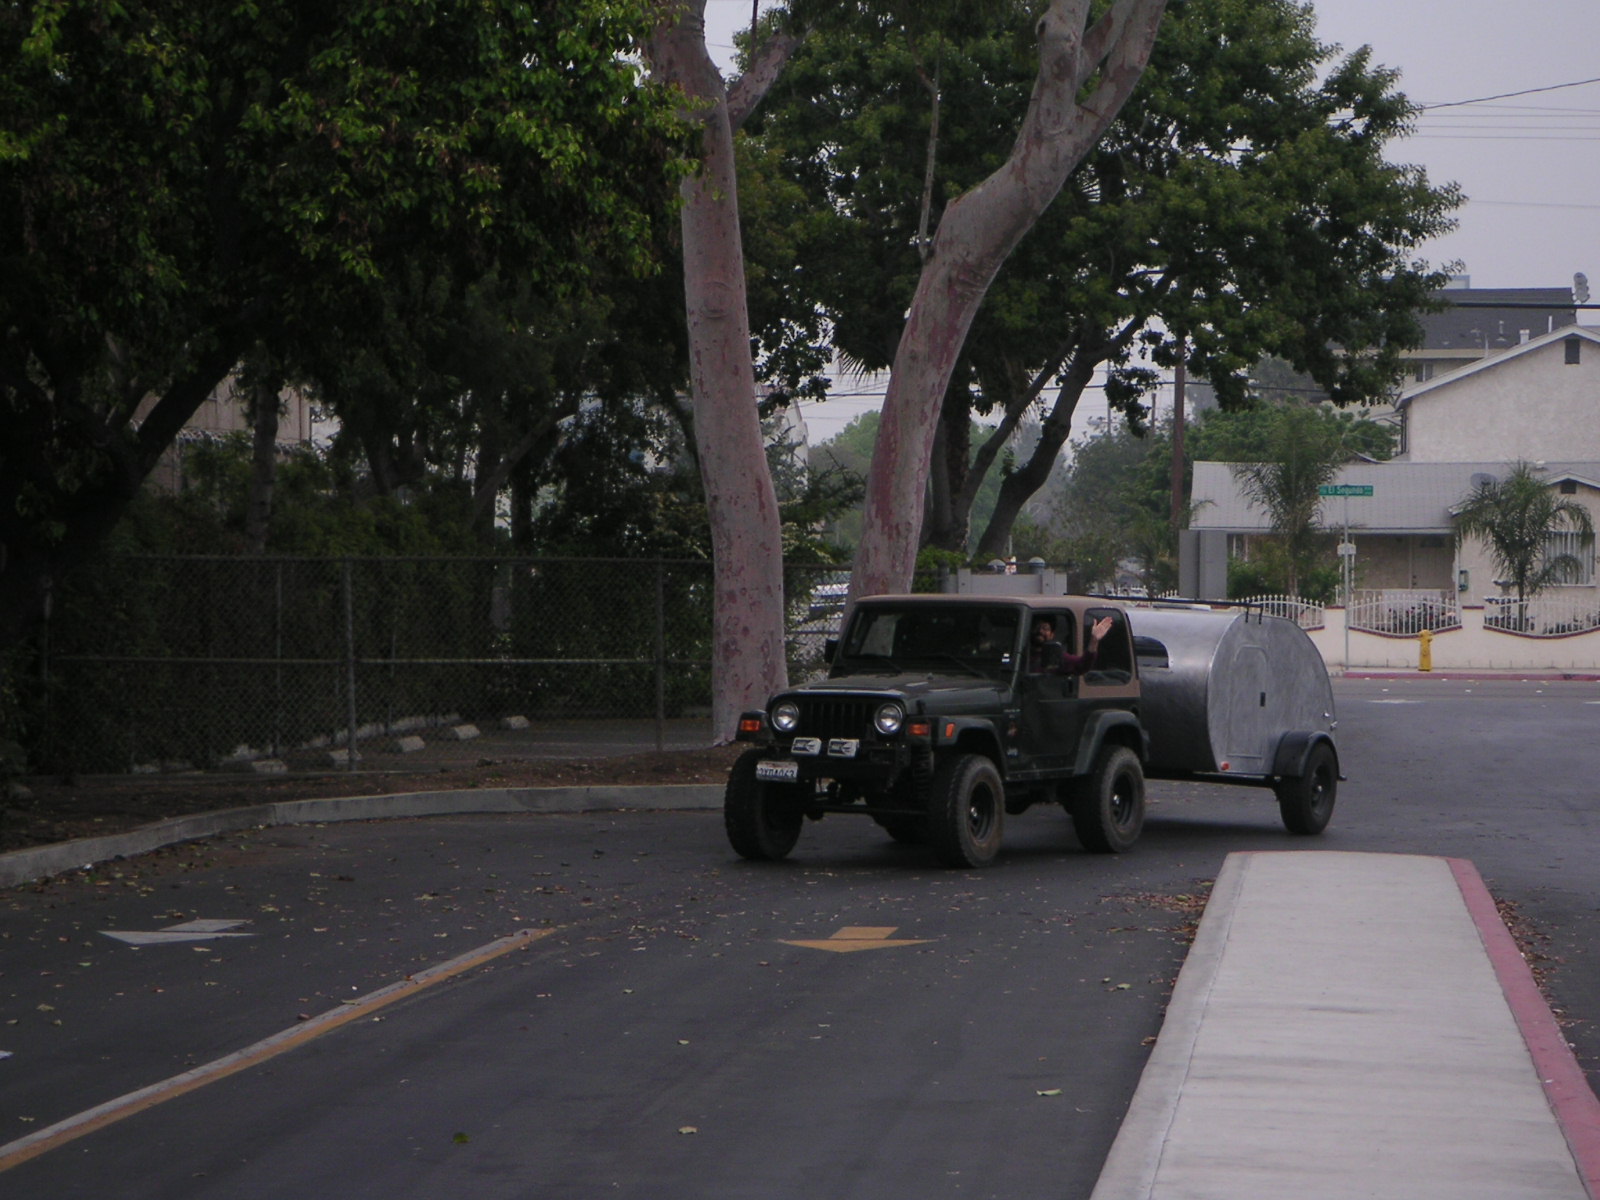
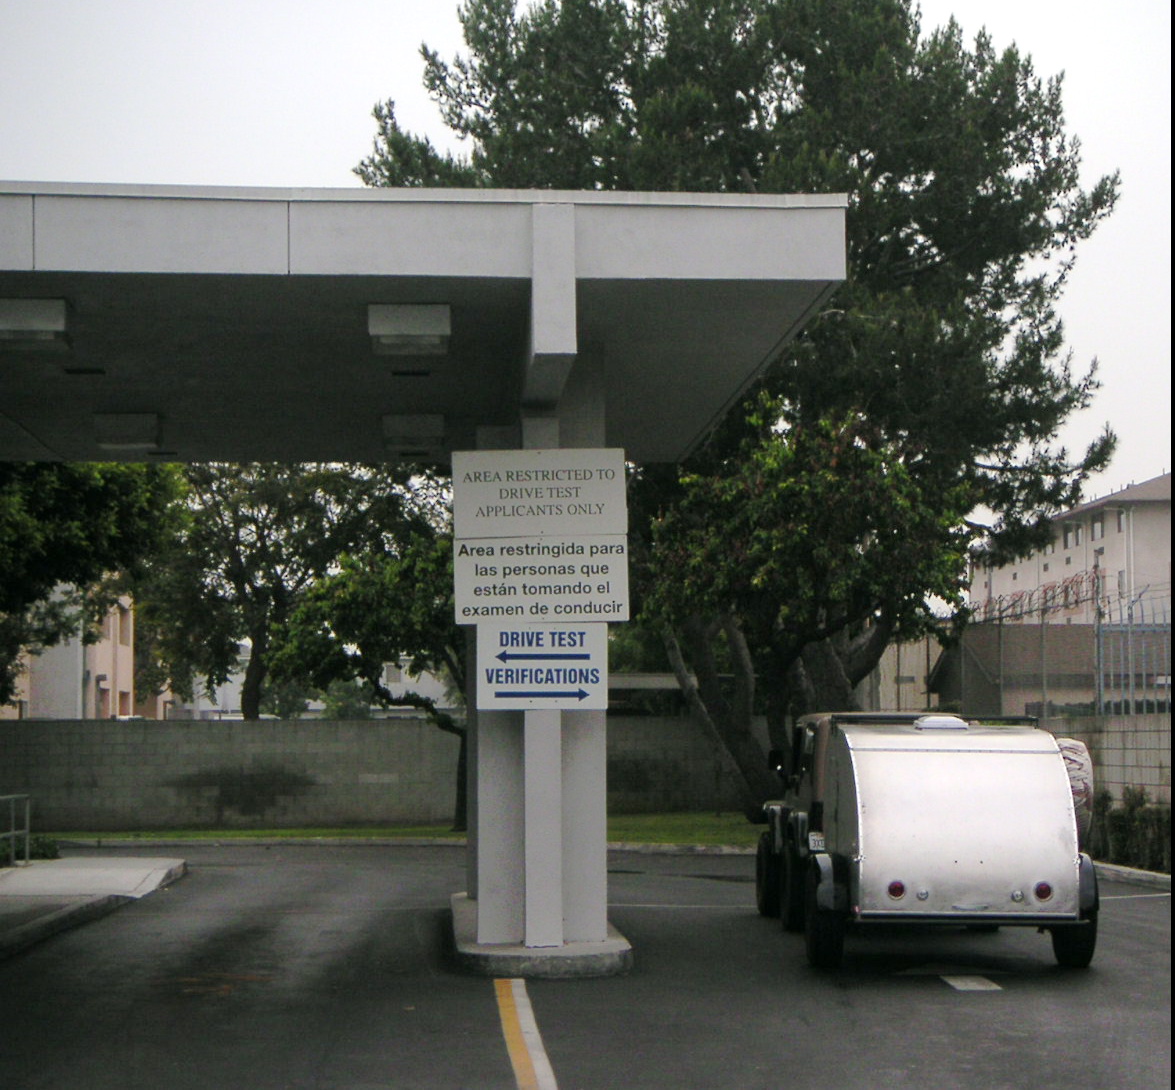
I called the local DMV before going, and they said that we needed to bring in the trailer, and that it would be ok to drive it on the streets w/o a plate to get there. Some people had told me that it might be ok to just bring photos of the trailer but that is not the case in southern Calif, at least not at the Hawthorne branch of the Calif Department of Motor Vehicles in Los Angeles county 90250.
Some TIPS worth mentioning:
* Bring someone with you. It takes one person to stay with the trailer outside in the inspection area, and one person to stand in line inside. If the inside line goes faster, that’s ok but the clerk will say that they can’t do anything until the inspection is done. If you’re alone, you’ll have to get the trailer inspected, THEN start standing in line for a window clerk. That may cost you an extra hour or more, in which case you ought to bring some snacks so you don’t get so grumpy waiting.
* Bring walkie talkies. We used little Motorola TalkAbout FRS radios and they worked great. When Louise got up to the window she was able to tell the clerk that I was outside and the inspection was underway.
* Start to finish, about 2 hours. We didn’t have an appointment, but we got there at 7:30am, on a day when they open earlier than usual. There were still about 40 people ahead of us, but it went fairly fast. We were the 1st in line for the inspection, and #30 for the inside window. Those came out pretty even because the inspector doesn’t open as early, so our timing was just as good as it could be.
* Make sure to say that your trailer is under 1400 pounds (because it probably is). I said that ours was “about 1000 lbs, definitely under 1500 lbs.” The inspector wrote down 1500 lbs, just under the legal limit for needing brakes. I do have brakes, but I didn’t want to Have To have brakes.
* I was disappointed that the inspector didn’t even want to see the inside at all. He also didn’t look underneath.
* The inspector will give you a metallic VIN number sticker. He warned me that the glue isn’t all that great, and if I wanted to rivet it down that would be a good idea. What I did do was while he went inside to get the VIN sticker, I squirted some drinking water on a nice frame spot & rubbed it clean with a rag so there was a good place to stick the VIN sticker.
* I later stamped the VIN number into the frame (in several places)
* It was sort of difficult to find a good “pull through” parking place for a trailer at the DMV. You might want to have a 3rd partner holding a long parking spot for you until you’re finished with the inspection. Because when the inspection is finished, you’ll still need to finish up the paperwork inside, so you’ll need to park somewhere.
* You are registering a “Homebuilt Utility Trailer”. Memorize that. Say it to yourself while in line. “House Trailers” nor “Coaches” are not eligible for a PTI (Permanent Trailer Identification) license plate. This should not be an issue, however…. I read & reread the CA auto laws as posted by the DMV, and they keep referring you to a different section of the code for a definition of trailer & house trailer, but they never actually define it. This could be bad if the DMV clerk you get thinks that all camping trailers are “House Trailers” like the big RV trailers. So play it safe, and say “utility trailer”. It does fit the definition.
* Forms you need in California: 343, 4017, 5036 & They gave us a 124 during the proceedure. “Application for Assigned Vehicle Identification Number Plate”.
* Bring receipts showing approximately how much you spent. Be sure to bring receipts for the major stuff; plywood, frame, and axle if you bought it. Other stuff may not matter. I recommend bringing copies of receipts, in case they get lost or filed. Leave your originals at home (or in the car if you expect that they will require the originals). If the DMV wants copies, you can just give them your extra set, which would have saved me almost 15 minutes of waiting while the DMV clerk slowly pulled out the staple… made one copy of each receipt… then slowly re-stapled my stack….
* They will want to know how much you paid for the trailer. You can’t answer that, because you didn’t buy it, you built it. You just showed them receipts for parts. Then they may say; “Oh, ok, so how much was the kit?” Again, a bad question. You didn’t buy it as a kit. The other possible choice on Form 343 is how much its market value is (if it was a trade or a gift). Yet another bad question, as it’s neither a gift nor a trade. It’s a home built utility trailer made from raw materials. As it turns out, the reason they are so interested in the amount you paid is that they want to charge you Sales Tax! So be sure to point out that you paid sales tax on the materials when you bought them. Oh boy! That really confused them!!!
After some consulting, the DMV clerk came back and told me to write the total amount we spent on materials in the blank labeled “I paid ___ in sales tax to a state other than California”. Well that still doesn’t make a lot of sense, but it’s what they wanted, & I didn’t have to pay any sales tax on stuff I already paid sales tax on, so I didn’t make trouble about it.
* We paid a grand total of $30 for 5 years registration & a PTI license plate. The PTI plate does not need any yearly stickers. Personal check was ok, but they wanted to see ID. Our drivers licenses were acceptable forms of ID. Louise & I both wanted to be on title, and that was perfectly ok with everyone.
* The clerk’s computer issued the license plate number, and we picked up the plate at a different desk on the way out. Luckily we were already set up for a license plate and brought mounting screws. We installed it before leaving the DMV. (I later put nylock nuts on the backside of those screws, so they spin loosely but will not vibrate off, to thwart any potential license plate thieves).
* The registration says we are supposed to keep a copy of it with the trailer, at least when we are towing & using it. I keep a copy in the Jeep too.
The DMV mailed us a Certificate of Title (pink slip) in a week or 2.
Hooray! !!!
INSURANCE:
I asked my (state farm) insurance agent what did I need to cover this beautiful little trailer. He said that liability is not necessary, as the towing vehicle’s coverage will extend to the trailer too. I asked about what if the trailer is not connected to the Jeep, and it rolls downhill and smashes into someone’s fully restored hot rod truck? He didn’t like the sound of that any more than you do, but he called me back & said that the towing vehicle’s liability still extends to cover the trailer. No extra charge.
I asked about coverage against theft & damage to the trailer. That came to about $20 a year with a $500 deductible for about $6000 of coverage. Sounds affordable! They don’t want to know hardly anything about the trailer now, it’s up to me to document the loss should the time come. The contents of the trailer would not be covered by this policy, but contents are probably(?) covered by the homeowners policy (up to a limit). I will try to find some photos :-) , and keep them with the receipts and a list of all reasons that this is a very special little trailer, and very difficult to replace. After seeing what it might cost to *try* and replace it, we upped the insurance to something more reasonable, like $14,000. $6,000 was about the cost of the parts in 2003, not replacement value.
Best regards,
Dave Nathanson
TD.roughwheelers.com


underneath, nor even peered in the window.